
-
Login
-
Sign Up

Log in to your iBeauty account
Access Your Account for a Universe of Possibilities
at Your Fingertips.

Sign up and start learning
Take the First Step Towards Learning. Sign Up Today &
Expand Your Horizons!
Log In
Sign Up
Don’t have an account yet? Sign Up
or continue with
By Sign up, you agree to our Terms and Use and Privacy Policy
Already have an account? Sign In
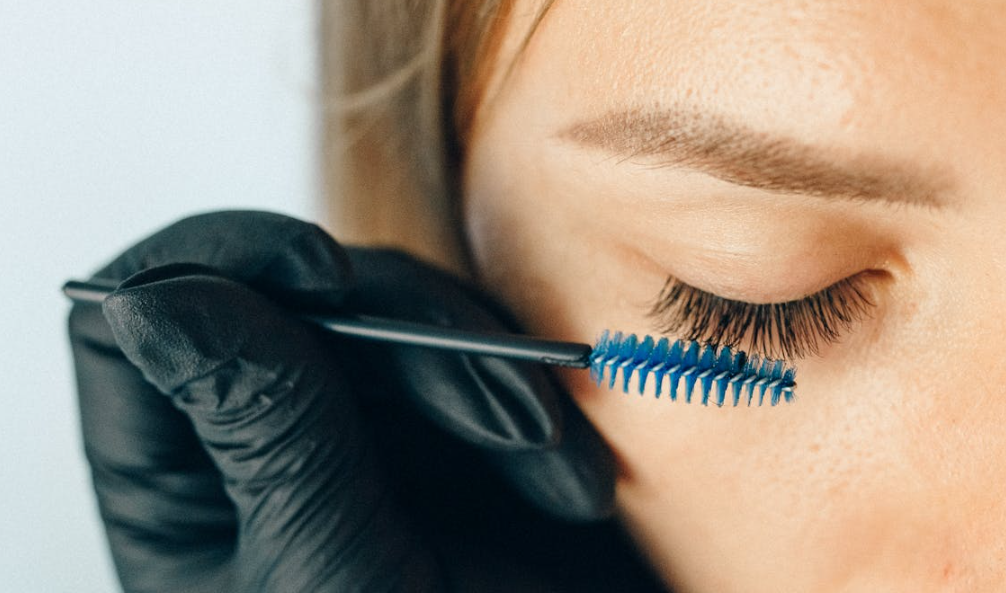
How to Perform the Perfect Lash Lift (Step-by-Step Training)
July 18, 2025
13 Users
Recnet Blogs
 " alt="Microdermabrasion Training: What to Expect & How to Get Certified" />
July 18, 2025
Microdermabrasion Training: What to Expect & How to Get Certified As someone who has always admired the radiant glow of …
 " alt="Lash Lift vs. Extensions: Which Service is More Profitable?" />
July 18, 2025
Lash Lift vs Extensions As a beauty enthusiast, what always fascinated me was how a simple touch—like a lifted lash …
 " alt="Lash Extension Training: How to Start a Lucrative Career in 2025" />
July 18, 2025
Lash Extension Training Growing up, I was always fascinated by how a simple change in lashes could transform someone’s entire …